
What You Will Learn
In this comprehensive guide to student vs artist grade oil paints, you will learn the difference between each grade of oil paints and how to pick which oil paint grade is right for you. I will also discuss a bonus category of paint. And in the end there will be an exercise to help you experiment with oil paint.
First let’s discuss some key terms to help us better understand the differences between student and artist grade paints.
Key Oil Paint Terms
Pigment Dry powders that give paints their color
Binders Typically linseed, walnut, or safflower oils used to contain the pigment
Pigment Load The ratio of colored pigment to the oil binder
Extenders Colorless pigments like calcium carbonate used to partially replace colored pigment
Tinting Strength How much one pigment will effect another when mixing colors
Opacity How easily one pigment covers another
Student Grade Paint
Student grade oil paint is typically a more affordable option and, as the name implies, it is marketed toward art students and beginners. But what makes it more affordable and why is it marketed toward beginners?
First, it is important to remember that paint typically consists of three components: pigment, an oil binder, and sometimes fillers and extenders.
Student grade paint typically has less colored pigment in the tube. The pigment is what makes paint expensive, so having less pigment is why student grade paint is more affordable.
To compensate for less colored pigment, manufacturers typically add extenders, which are less expensive than colored pigment.
The extenders often do not effect the color of the paint, but they do effect the tinting strength.
What this means is that with less colored pigment and a weaker tinting strength, you will need to use more paint to mix the colors you desire and to get more opaque coverage on your canvas or panel.
For example, if you have a pile of blue student grade paint, you’ll have to add much more yellow to mix a green you desire. This is okay if you paint thickly or don’t want to tightly control the thickness of your paint mixtures.
In addition, if you have a blank white canvas, and would like to paint it a single color, like burnt umber, you might need to use more student grade paint to get full coverage and get the canvas to a darker value. But student grade paint could work well for under paintings, which tend to be a bit more transparent.
The last aspect to note about student grade paint is that there are typically fewer pigment options. This shouldn’t be a major limiting factor, because if you are just starting to learn to paint it can be helpful to start with just three primary colors and white.
It is important to note that there is no standard for how manufacturers name paint grades. Many use the term student grade but others may use words such as academy or collegiate line. Other lines, like Gamblin’s 1980, don’t list any terms on the front of the tube to indicate it is student grade paint. So you have to be sure to research each brand.
Below are some common examples of student grade paint brands.
- Winton by Winsor and Newton
- 1980 by Gamblin
- Artist’s Loft
- Georgian by Daler and Rowney

Artist Grade Paint
Now let’s examine artist grade paint and what makes it different from student grade paint.
Artist grade paint is typically marketed toward painters who have transitioned past the initial learning stage and are now more knowledgeable about the way paint handles and have a better understanding of what they prefer.
At this stage a painter may be selling work and have more money to invest in higher quality paint.
Artist grade paint typically has a much higher pigment load and typically far less extenders. Because each tube contains more colored pigment, artist grade paint is more expensive than student grade paint.
But here is a secret tip! If you stick to earth pigments, you can usually get artist grade oil paint under $10 for a 37ml tube. I like yellow ochre, Venetian red, and Prussian blue.
In addition, because there is more pigment, and a higher tinting strength, less paint is required to alter color mixtures and to get better coverage and opacity.
For example, if you have a pile of blue paint, you may need to add much less yellow to achieve a green that you desire. And if you are trying to cover up the white of a canvas or underlying paint layer, artist grade paint will be more effective at creating a more opaque layer.
It should be also noted that when a paint has a higher tinting strength and less paint is needed to achieve the color mixture you desire, it saves paint over time. A higher tinting strength can also give you more control over your color mixtures. If you want to significantly alter a color mixture quickly, you might just need to add a small amount of paint to get the effect you desire.
Finally, you can typically find more pigment options in artist grade paint. For example, if you are looking for lead white, it will typically be found in artist grade paint because it is more expensive and difficult to manufacture.
Below are some common artist grade paints:
- Gamblin—Very stiff, requires a stiff natural bristle brush to mix it right from the tube
- Utrecht—Softer and dries slower from safflower binder
- Williamsburg—Softer than Gamblin, slightly gritty feel, easier to mix than Gamblin

Premium Grade Paint
Now let’s discuss one more bonus category of oil paints before we discuss how you choose the right grade for you.
The final category of paint is the premium brands. This isn’t an official category and you may not see them labeled this way (they are often labeled as artist grade), but these brands are usually the most expensive and typically have a very high pigment load and little to no extenders or stabilizers.
These paints typically have a very strong tinting strength which again means you need to use less paint to alter color mixtures. This means you have much more control over the consistency of your paint mixtures and use less paint.
The most notable aspect about premium brands is the viscosity of the paint. Because they consist mainly of oil and pigment, the paint is often very soft, like warm butter. When paint is soft like this, it is much easier to mix right from the tube. This means you are less likely to need mediums to thin down your paint and make it more mixable.
This is a desirable quality if you paint alla prima and are trying to limit fumes in your studio, from solvents and mediums. These are my personal favorites because I don’t have to use solvents or mediums with them.
Here are some common premium grade paint brands:
- Michael Harding—UK brand, soft and easy to mix
- M Graham— Walnut binder yellows less, very soft, solvent free business model
- Blue Ridge—direct to consumer brand, very high quality at reasonable prices, soft feel

How to Choose What’s Best for You
Now that you know the differences between these oil paint brands and grades, how do you know which one is right for you?
Just because you are a student doesn’t mean you can’t benefit from artist grade or premium grade paints. And just because you’ve been painting for a long time doesn’t mean you can’t use student grade paint.
The first thing to consider is your experience level. If you have never used oil paint before, it might be helpful to start with a tube of student grade paint so you have a baseline to judge all the other paint grades.
I typically encourage students to start with just two tubes of paint – titanium white and burnt umber. This will enable you to create monochrome paintings which will help you focus on paint application without being bogged down by color mixing.
The next thing to consider is price. There’s no point in paying more for artist grade or premium grade paints if you will be afraid of using them and wasting them.
When you are learning, the most important thing is to paint as much as you can, so if using a more expensive paint is going to inhibit your painting output, it might be worth it to stick with student grade oil paint until you feel more comfortable using more expensive options.
If you want to experiment, however, with how artist grade paint handles, try a small tube of yellow ochre. Earth pigments are usually the least expensive pigments but are still excellent colors to have on one’s palette. They are only less expensive because they are easier to manufacture, not because they are inferior pigments.
Another thing to consider is how thick or large you paint. If you paint right from the tube with thick impasto and don’t do a lot of precise color mixing, then student grade paint may be a good choice. And if you paint really large without a lot of color mixing, student grade paint could be a good option to start with.
And finally, the last thing to consider is what stage of the painting you are using the paint for. For example, some artists might use a student grade burnt umber for an underpainting, and then use much more highly pigmented artist grade paint to paint over it.
What to Buy First
As I mentioned before it’s far less expensive to buy a few tubes instead of buying a set of oil paints with multiple colors only to find you don’t like oil paint.
After trying the burnt umber and white, if you find you like the consistency of oil paint, you can start adding some primary colors instead of buying a complete set of colors.
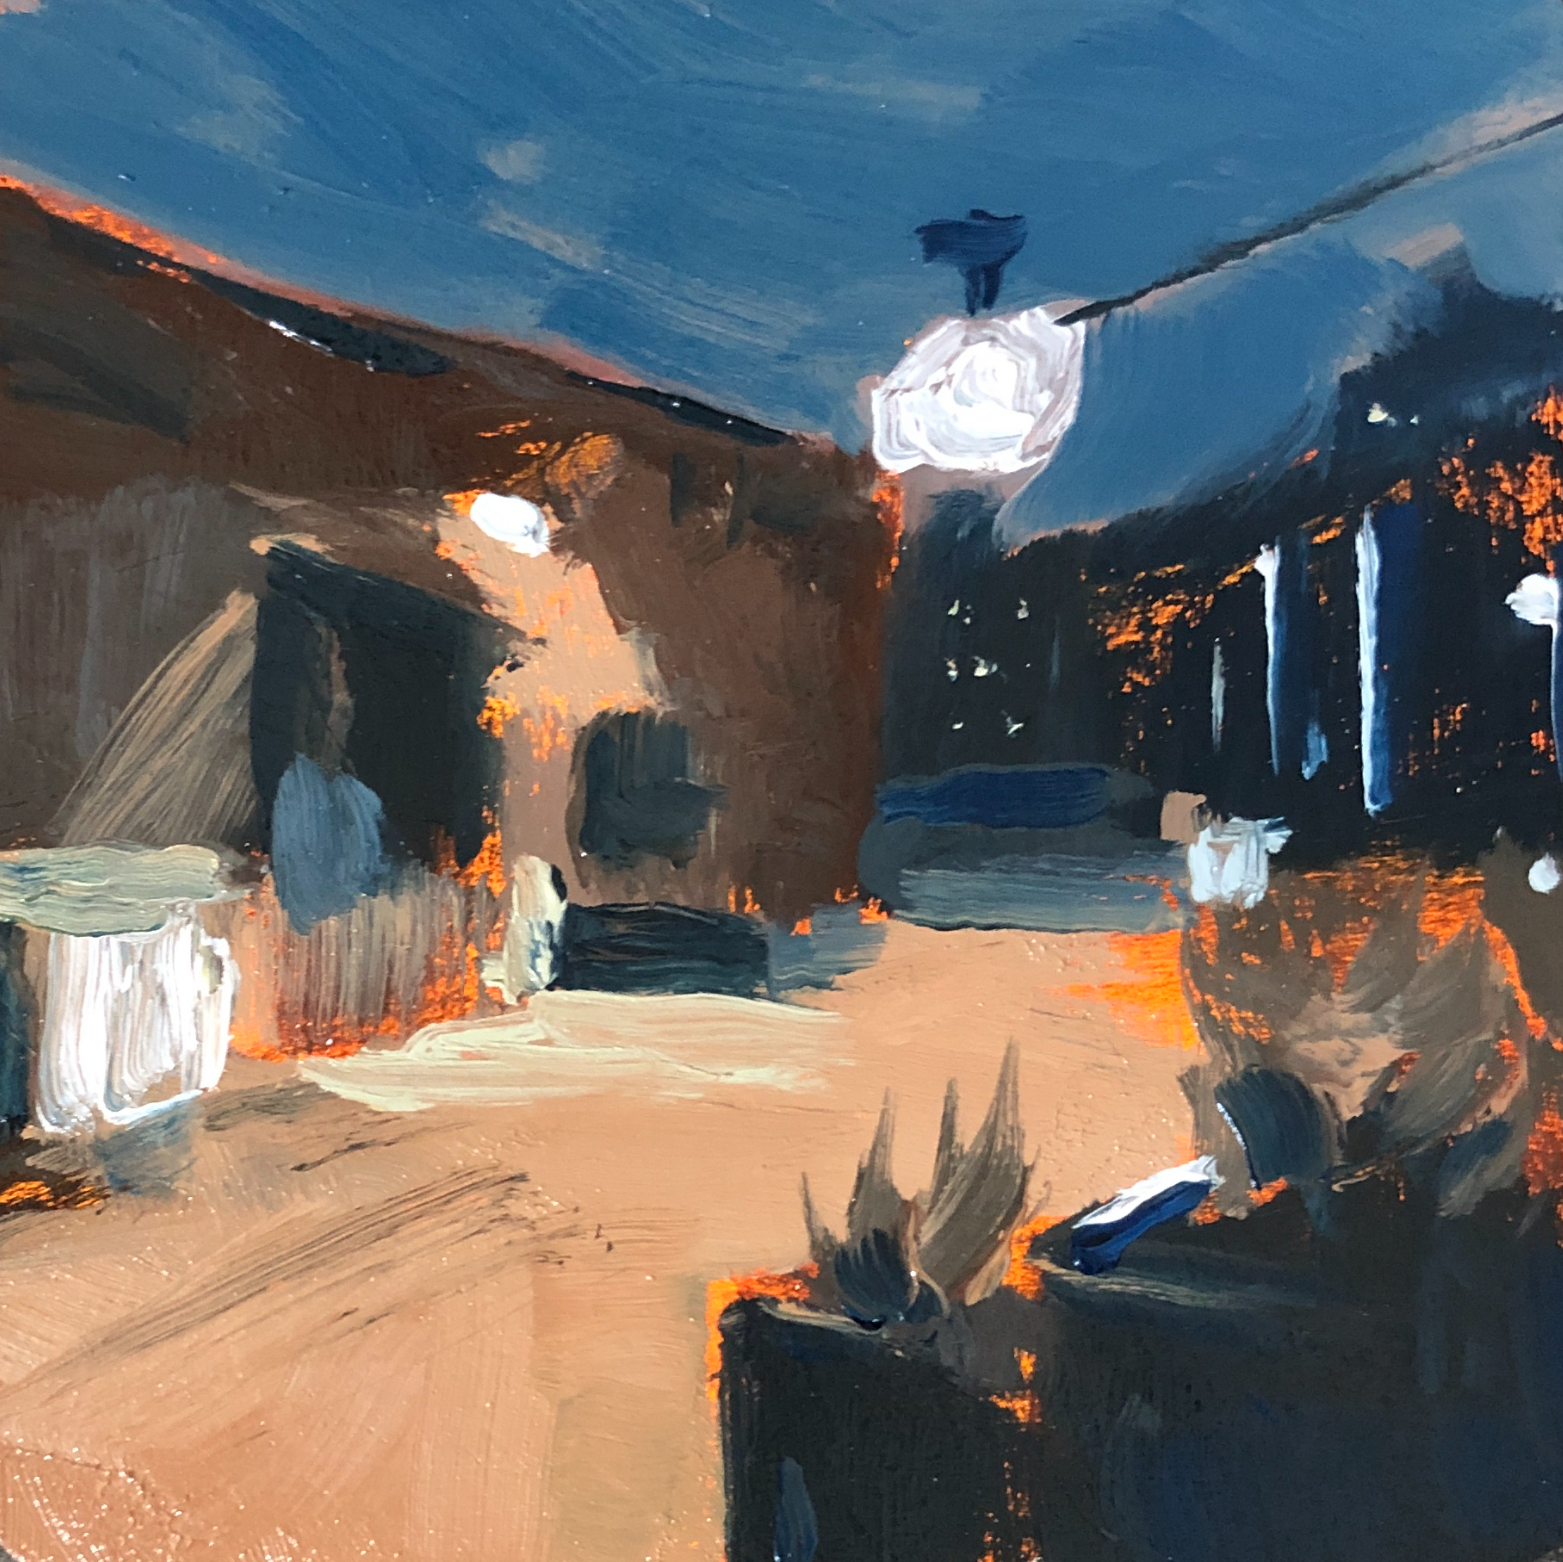
I recommend yellow ocher, ultramarine blue, and Venetian red. These are all considered earth pigments and are much more affordable than pricey cadmium and cobalt colors.
You won’t be able to mix extremely bright and saturated colors (for flowers, for example), but these colors are perfect for landscape paintings, which are also excellent subjects for beginners.
Here is an example of a landscape made with just these three colors.

Let’s Review
- Student Grade Paint
- More affordable
- Contains less pigment
- Weaker tinting strength
- Weaker coverage and opacity
- Fewer color choices
- Good for underpaintings or painting large
- Good if you fear wasting paint
- Artist Grade Paint
- Costs more than student grade paint.
- Contains more pigment
- Fewer fillers
- Higher tinting strength
- Better coverage and opacity
- Larger selection of colors
- More pigment means less paint is used
Paint Test Exercise
If you have never used oil paints before and want to try them, here’s a great exercise for you. Purchase a small 37ml tube of burnt umber (black would work too) and titanium white.
Next find a black and white reference photo (or take your own). Landscapes are great because they require less drawing.
Next you need something to paint on. Gessoed watercolor paper would work well for a quick test. But a piece of cardboard with acrylic gesso would work well too. We are trying to keep costs down until you decide whether you like oils.
Now you will need three brushes—one each for shadows, mid tones, and highlights. You’ll need three brushes so you don’t have to buy a solvent or oil to wash brushes between values. You can wash them with soap and water in your hand when you finish painting. Click the following link for the brush care video on the Gallery Bry YouTube channel to learn the technique. https://youtu.be/2gMDf1Bwo9o
Now it’s time to paint. Squint at your reference and put in the darkest values first with your burnt umber. Then add in some mid tones with burnt umber and white. Finally add in the lightest values with white and perhaps a touch of burnt umber.
The goal of this exercise isn’t to create a masterpiece with these limited materials. So don’t get too frustrated if it doesn’t look the way you expected. The goal is to get an understanding of how oil paint handles.
It takes time to get used to oils so don’t judge it on your first painting. Give it time and make lots of quick little studies. Focus more on the process of working with the paint than the outcome.
Next ARTicle
In the next ARTicle we will review the book Alla Prima by Richard Schmid. And the next Gallery Bry YouTube video will discuss how to mix colors for a simple still life. Register for Academy Bry for FREE if you don’t want to miss them.
Academy Bry
Join Academy Bry for free to rapidly accelerate your painting skills with helpful ARTicles and videos delivered to your inbox.


