Think you need to be famous to make a living as an artist? Think again. You don’t have to go viral or be a Warhol or Picasso to make a living. You can have a smaller, dedicated audience, just like the Grateful Dead.
Most people have heard the Grateful Dead referenced in pop culture. But did you know they only had one significant radio hit? It’s true! They didn’t grow an audience by getting lots of radio airtime or playing music that had mass appeal. They did it by playing countless, improvisational shows to a group of devoted fans.
So what can a visual artist learn from the Grateful Dead? The answer: Find your niche. While being a household name with mass appeal might bring fame and fortune, having a cult following of super-fans can also be a viable path.
Many working artists have a niche they are known for. It might be painting trains, sandpipers, marshes, cows, etc. How do you find yours? Instead of trying to find what people want, find what is unique to you and your surroundings.
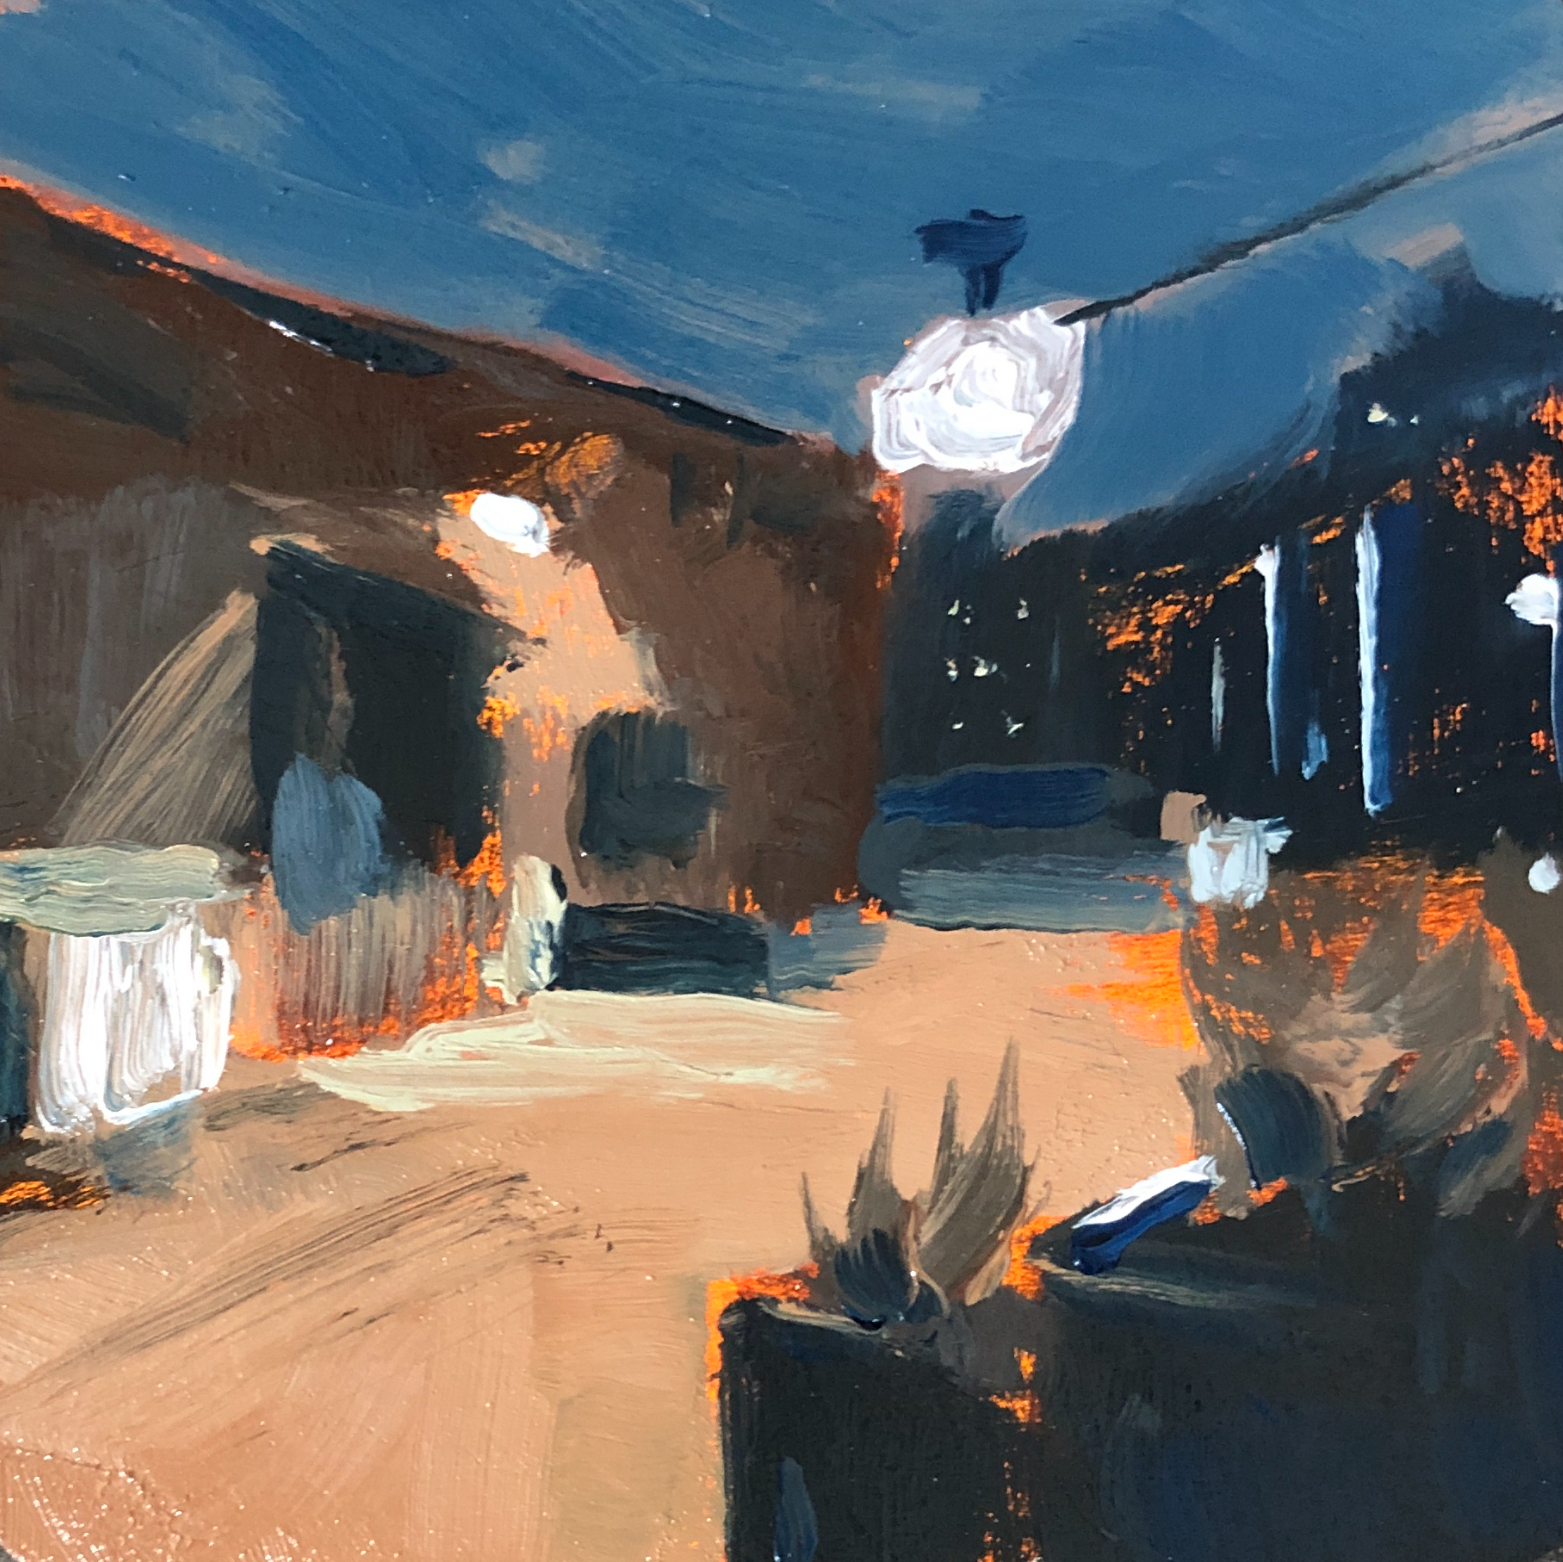
Here are some examples. If you’re a night owl, perhaps nocturnes could be your thing. If you love cafés, maybe paint café interiors. The possibilities are endless. And chances are if it’s something that moves you, there are plenty of people out there who have similar interests. You just have to find your tribe.
The bottom line, if you want to grow an audience, sometimes quality is better than quantity. If you find your niche, you could attract a loyal, engaged audience with similar interests as you. Try not to get caught in the trap of growing a huge audience. Try to build a close-knit community.
In the next article, we will be discussing how using multiple references can significantly improve your composition, color, and style.
You do not merely want to be considered the best of the best. You want to be considered the only one who does what you do. -Jerry Garcia
Do you feel like you can’t find inspiration when you need it to get work done? In this article, I’ll give you three tips you can use right now to boost your inspiration.
ACTION BEFORE INSPIRATION
Here’s the truth: you can’t always wait for inspiration to find you; you have to chase it down. Picasso said, “Inspiration exists, but it must find you working.” So the first thing you need to do is show up consistently, whether or not you feel inspired.
This could be sketching thumbnails, working on paintings, or even going to the museum and taking notes. The key is to keep the momentum going. So do something creative and manageable as often as possible.
BROADEN YOUR SCOPE
Next, if you want inspiration to come, you need to cast a wider net and redefine what you consider potential sources of inspiration.
If you’re a landscape painter, possibly consider tossing a few still lifes into the mix. If you mainly paint daytime scenes, perhaps try some nocturnes.
And write absolutely every idea down. Don’t label ideas as good or bad. Consider everything, and don’t discount an idea because you think it may not have potential. James Gurney says, “Note first—analyze later.”
Some of the most famous creators had doubts about their most renowned creations.
SHAKE THINGS UP
Finally, if you want inspiration to come, try getting out of your usual routine. It’s easy to get trapped in our creative bubbles and screen out the massive world of possibility we live in.
If you’re a studio painter, maybe try painting plein air for a while. Or you could change up your materials. Try a limited color palette or using just a palette knife for a little while. Be creative. Think of what you typically do and try the opposite.
CONCLUSION
So there you have it. If you want inspiration to come to you, you have to invite it in. First, you need to take action (any creative action) to get the ideas flowing. Next, you can broaden your definition of what qualifies as good inspiration. Then, make sure you write it all down and give every idea a chance to grow. Finally, you can try new approaches you normally wouldn’t have considered.
But that’s just a start. Generating ideas is an evolving and individualized process. Experiment and find out what works best for you.
NEXT ARTICLE TOPIC
In the next article, we will discuss what an artist can learn from the Grateful Dead.
You must act first before inspiration will hit. -Robert Rodriguez
Inspiration is for amateurs. The rest of us just show up and get to work. -Chuck Close
The Barbizon school of painting wasn’t a physical school you could attend. It was a movement in a region of France, between 1830 and 1870. It started in the village of Barbizon, after a handful painters were inspired by a few John Constable landscape paintings exhibited at the Paris salon.
Prior to this, landscapes were mostly used for backdrops to more dramatic subjects, like figures. Think of the Mona Lisa: there’s a landscape in the background, but the Mona Lisa is the main subject.
Many Barbizon painters, however, wanted to paint the landscape as the main subject. These painters included Corot, Daubigny, Millet, Manet, and Degas, among others.
They used loose brushwork and soft forms to create atmospheric paintings, as opposed to the tight brushwork of years past. And it was this loose brushwork that helped inspire the impressionists, such as Monet and Renoir.
Even post-impressionist painters, like Vincent Gogh, were strongly influenced by the Barbizon painters. Van Gogh, for example, copied many Millet paintings and even painted in the garden of Daubigny.
Charles-François Daubigny (French, 1817-1878). ‘Twilight,’ 1866. oil on panel. Walters Art Museum (37.128): Acquired by William T. Walters, 1876.
In the next Article, we will be discussing inspiration, and how to find it.
The Third of May was the response to the Spanish uprising of the occupation of Spain by Napoleon‘s army. On May 2, 1808, the people of Spain revolted against the French army, and on the following day, May 3, the French army massacred countless Spanish civilians for the uprising.
This was captured in Goya’s painting in stark detail. It has not been confirmed, however, whether he was a participant or present at any of the events on May 2 or May 3.
This painting marks a very significant departure from traditional depictions of war. In the past, war was typically depicted by the victors and portrayed as being glorified and triumphant.
Goya’s painting was the first to graphically depict the victims. This marks a significant departure from history, typically being written by the victors.
On the left of the painting is a chaotic scene of Spanish civilians being shot down by the French firing squad, which is located to the right of the painting. The Spanish civilians are illuminated by a streetlight, and in the center of them, there is a Christ-like figure with his arms outstretched in the shape of a cross.
The French soldiers are hidden in shadow and are very neatly organized in contrast to the chaotic scene of the bodies of the Spanish civilians to the left.
The painting created much controversy when it was debuted. But today it is championed by many as the painting that created a voice for the victims of war.
Next week, we will discuss the Barbizon school of painting.
Art, as we discussed in last week’s post, serves as a powerful form of social commentary. It often highlights war, oppression, and inequality, serving as a powerful tool to shed light on these pressing issues.
GUERNICA
One notable example is Picasso’s “Guernica.” Created in response to the horrific carpet bombing of the town of Guernica by Nazi planes in 1937, the painting stands as a testament to Picasso’s desire to ensure that such an event would not go unnoticed and would never be forgotten. With its massive size of 7 meters by 3 meters, “Guernica” employs scale to create a profound impact, making it impossible to ignore.
Unlike other forms of media and communication, art has a unique ability to create an indelible mark on the viewer. It cannot be easily dismissed or overlooked, unlike newspaper articles that are often archived and forgotten. The sheer size of “Guernica” ensures that it cannot be missed, even in a crowded museum.
The image itself is chaotic and reminiscent of war. To the right, three women are fleeing a burning building, while in the center, an impaled horse lies under a light. To the left, a screaming mother clutches her dead baby, all overlooking a bull that appears indifferent to the unfolding tragedy.
Initially, “Guernica” was met with criticism and disapproval from the people of Guernica due to Picasso’s grotesque style. However, over time, it has gained acceptance and is now an integral part of the town’s tourism campaign.
Pablo Picasso, *Guernica* (1937), Museo Reina Sofía, Madrid. Image via Wikimedia Commons (public domain).
THE RAFT OF THE MEDUSA
Another powerful example of art as social commentary is “The Raft of the Medusa.” Created by Théodore Géricault, this painting depicts the harrowing scene of a shipwrecked crew on a makeshift raft, which was cut loose from lifeboats by a negligent captain.
As the raft drifts in the vast ocean, cannibalism occurs, and only 15 of the 150 crew members are rescued, leaving only seven survivors in the end. “The Raft of the Medusa” captures the raw emotions and desperation of the situation, serving as a stark reminder of the human condition in the face of adversity.
Gericault’s painting, akin to Pablo Picasso’s Guernica, exudes immense scale and delivers a profound impact on anyone in its presence. Standing at over 16 feet tall and 23 feet wide, it cannot be overlooked. While news accounts of the tragedy might have informed you, nothing can truly encapsulate such power and bring it to life as a colossal mural-sized painting.
In contrast to Picasso’s Cubist, avant-garde style, Gericault’s painting is meticulously rendered, capturing the gruesome scene in vivid detail.
Upon its debut in the Paris salon, the painting caused a sensation due to its graphic depiction of death. While death had been portrayed in art before, Gericault’s portrayal was unlike anything seen before.
In the distance, a small ship might lead you to believe that the crew is being rescued, but you would be mistaken. The rescue ship, passing by, initially fails to notice the raft, and it would still be some time before it is discovered. This image serves as a poignant reminder of the fleeting nature of hope.
By Théodore Géricault – Unknown source, Public Domain, https://commons.wikimedia.org/w/index.php?curid=17456087
Next week we will discuss examples of how art is used to document history.
The purpose of art is not to produce a product but to produce thinking
At its core, art is a form of visual communication that serves various purposes. It can document history, provide social commentary, be a form of play and self-expression, and challenge our views of norms and objects. Art externalizes internal experiences, making the intangible tangible and shareable with others. Many believe it is a window into the soul.
WHY DO WE MAKE ART?
Nearly any artist will tell you that art is a compulsive act they can’t live without. I think art is like breathing: we inhale information every day, and just like breathing, we can’t hold our breath forever. We feel an overwhelming urge to exhale that information into the world in its transformed state to connect with others.
WHY ARE PEOPLE DRAWN TO ART?
There will always be a need for art created by human hands because one of the main purposes of art is to connect with other humans and escape reality.
DO WE STILL NEED ART WITH AI?
As we move into the AI age, we will need human art more than ever. AI art may create art that humans may never have dreamed of, but nothing can replace the window into the soul that human art provides.
And just as the camera helped give rise to new art movements like Impressionism, AI may help humans break new ground with art. So, AI likely won’t destroy human art; it will push it forward.
In next week’s blog post, I’ll discuss how art is used as social commentary.
Art is one’s constant effort to create for oneself a different order of reality from the one we are given.
In this comprehensive guide to student vs artist grade oil paints, you will learn the difference between each grade of oil paints and how to pick which oil paint grade is right for you. I will also discuss a bonus category of paint. And in the end there will be an exercise to help you experiment with oil paint.
First let’s discuss some key terms to help us better understand the differences between student and artist grade paints.
Key Oil Paint Terms
Pigment Dry powders that give paints their color
Binders Typically linseed, walnut, or safflower oils used to contain the pigment
Pigment Load The ratio of colored pigment to the oil binder
Extenders Colorless pigments like calcium carbonate used to partially replace colored pigment
Tinting Strength How much one pigment will effect another when mixing colors
Opacity How easily one pigment covers another
Student Grade Paint
Student grade oil paint is typically a more affordable option and, as the name implies, it is marketed toward art students and beginners. But what makes it more affordable and why is it marketed toward beginners?
First, it is important to remember that paint typically consists of three components: pigment, an oil binder, and sometimes fillers and extenders.
Student grade paint typically has less colored pigment in the tube. The pigment is what makes paint expensive, so having less pigment is why student grade paint is more affordable.
To compensate for less colored pigment, manufacturers typically add extenders, which are less expensive than colored pigment.
The extenders often do not effect the color of the paint, but they do effect the tinting strength.
What this means is that with less colored pigment and a weaker tinting strength, you will need to use more paint to mix the colors you desire and to get more opaque coverage on your canvas or panel.
For example, if you have a pile of blue student grade paint, you’ll have to add much more yellow to mix a green you desire. This is okay if you paint thickly or don’t want to tightly control the thickness of your paint mixtures.
In addition, if you have a blank white canvas, and would like to paint it a single color, like burnt umber, you might need to use more student grade paint to get full coverage and get the canvas to a darker value. But student grade paint could work well for under paintings, which tend to be a bit more transparent.
The last aspect to note about student grade paint is that there are typically fewer pigment options. This shouldn’t be a major limiting factor, because if you are just starting to learn to paint it can be helpful to start with just three primary colors and white.
It is important to note that there is no standard for how manufacturers name paint grades. Many use the term student grade but others may use words such as academy or collegiate line. Other lines, like Gamblin’s 1980, don’t list any terms on the front of the tube to indicate it is student grade paint. So you have to be sure to research each brand.
Below are some common examples of student grade paint brands.
Winton by Winsor and Newton
1980 by Gamblin
Artist’s Loft
Georgian by Daler and Rowney
Student Grade Oil Paint Examples
Artist Grade Paint
Now let’s examine artist grade paint and what makes it different from student grade paint.
Artist grade paint is typically marketed toward painters who have transitioned past the initial learning stage and are now more knowledgeable about the way paint handles and have a better understanding of what they prefer.
At this stage a painter may be selling work and have more money to invest in higher quality paint.
Artist grade paint typically has a much higher pigment load and typically far less extenders. Because each tube contains more colored pigment, artist grade paint is more expensive than student grade paint.
But here is a secret tip! If you stick to earth pigments, you can usually get artist grade oil paint under $10 for a 37ml tube. I like yellow ochre, Venetian red, and Prussian blue.
In addition, because there is more pigment, and a higher tinting strength, less paint is required to alter color mixtures and to get better coverage and opacity.
For example, if you have a pile of blue paint, you may need to add much less yellow to achieve a green that you desire. And if you are trying to cover up the white of a canvas or underlying paint layer, artist grade paint will be more effective at creating a more opaque layer.
It should be also noted that when a paint has a higher tinting strength and less paint is needed to achieve the color mixture you desire, it saves paint over time. A higher tinting strength can also give you more control over your color mixtures. If you want to significantly alter a color mixture quickly, you might just need to add a small amount of paint to get the effect you desire.
Finally, you can typically find more pigment options in artist grade paint. For example, if you are looking for lead white, it will typically be found in artist grade paint because it is more expensive and difficult to manufacture.
Below are some common artist grade paints:
Gamblin—Very stiff, requires a stiff natural bristle brush to mix it right from the tube
Utrecht—Softer and dries slower from safflower binder
Williamsburg—Softer than Gamblin, slightly gritty feel, easier to mix than Gamblin
Artist grade oil paint brands
Premium Grade Paint
Now let’s discuss one more bonus category of oil paints before we discuss how you choose the right grade for you.
The final category of paint is the premium brands. This isn’t an official category and you may not see them labeled this way (they are often labeled as artist grade), but these brands are usually the most expensive and typically have a very high pigment load and little to no extenders or stabilizers.
These paints typically have a very strong tinting strength which again means you need to use less paint to alter color mixtures. This means you have much more control over the consistency of your paint mixtures and use less paint.
The most notable aspect about premium brands is the viscosity of the paint. Because they consist mainly of oil and pigment, the paint is often very soft, like warm butter. When paint is soft like this, it is much easier to mix right from the tube. This means you are less likely to need mediums to thin down your paint and make it more mixable.
This is a desirable quality if you paint alla prima and are trying to limit fumes in your studio, from solvents and mediums. These are my personal favorites because I don’t have to use solvents or mediums with them.
Here are some common premium grade paint brands:
Michael Harding—UK brand, soft and easy to mix
M Graham— Walnut binder yellows less, very soft, solvent free business model
Blue Ridge—direct to consumer brand, very high quality at reasonable prices, soft feel
Premium oil paint brands Michael Harding, Blue Ridge oil colors, M Graham
How to Choose What’s Best for You
Now that you know the differences between these oil paint brands and grades, how do you know which one is right for you?
Just because you are a student doesn’t mean you can’t benefit from artist grade or premium grade paints. And just because you’ve been painting for a long time doesn’t mean you can’t use student grade paint.
The first thing to consider is your experience level. If you have never used oil paint before, it might be helpful to start with a tube of student grade paint so you have a baseline to judge all the other paint grades.
I typically encourage students to start with just two tubes of paint – titanium white and burnt umber. This will enable you to create monochrome paintings which will help you focus on paint application without being bogged down by color mixing.
The next thing to consider is price. There’s no point in paying more for artist grade or premium grade paints if you will be afraid of using them and wasting them.
When you are learning, the most important thing is to paint as much as you can, so if using a more expensive paint is going to inhibit your painting output, it might be worth it to stick with student grade oil paint until you feel more comfortable using more expensive options.
If you want to experiment, however, with how artist grade paint handles, try a small tube of yellow ochre. Earth pigments are usually the least expensive pigments but are still excellent colors to have on one’s palette. They are only less expensive because they are easier to manufacture, not because they are inferior pigments.
Another thing to consider is how thick or large you paint. If you paint right from the tube with thick impasto and don’t do a lot of precise color mixing, then student grade paint may be a good choice. And if you paint really large without a lot of color mixing, student grade paint could be a good option to start with.
And finally, the last thing to consider is what stage of the painting you are using the paint for. For example, some artists might use a student grade burnt umber for an underpainting, and then use much more highly pigmented artist grade paint to paint over it.
What to Buy First
As I mentioned before it’s far less expensive to buy a few tubes instead of buying a set of oil paints with multiple colors only to find you don’t like oil paint.
After trying the burnt umber and white, if you find you like the consistency of oil paint, you can start adding some primary colors instead of buying a complete set of colors.
I recommend yellow ocher, ultramarine blue, and Venetian red. These are all considered earth pigments and are much more affordable than pricey cadmium and cobalt colors.
You won’t be able to mix extremely bright and saturated colors (for flowers, for example), but these colors are perfect for landscape paintings, which are also excellent subjects for beginners.
Here is an example of a landscape made with just these three colors.
Landscape oil painting made with Venetian red, yellow ochre, and Prussian blue
Let’s Review
Student Grade Paint
More affordable
Contains less pigment
Weaker tinting strength
Weaker coverage and opacity
Fewer color choices
Good for underpaintings or painting large
Good if you fear wasting paint
Artist Grade Paint
Costs more than student grade paint.
Contains more pigment
Fewer fillers
Higher tinting strength
Better coverage and opacity
Larger selection of colors
More pigment means less paint is used
Paint Test Exercise
If you have never used oil paints before and want to try them, here’s a great exercise for you. Purchase a small 37ml tube of burnt umber (black would work too) and titanium white.
Next find a black and white reference photo (or take your own). Landscapes are great because they require less drawing.
Next you need something to paint on. Gessoed watercolor paper would work well for a quick test. But a piece of cardboard with acrylic gesso would work well too. We are trying to keep costs down until you decide whether you like oils.
Now you will need three brushes—one each for shadows, mid tones, and highlights. You’ll need three brushes so you don’t have to buy a solvent or oil to wash brushes between values. You can wash them with soap and water in your hand when you finish painting. Click the following link for the brush care video on the Gallery Bry YouTube channel to learn the technique. https://youtu.be/2gMDf1Bwo9o
Now it’s time to paint. Squint at your reference and put in the darkest values first with your burnt umber. Then add in some mid tones with burnt umber and white. Finally add in the lightest values with white and perhaps a touch of burnt umber.
The goal of this exercise isn’t to create a masterpiece with these limited materials. So don’t get too frustrated if it doesn’t look the way you expected. The goal is to get an understanding of how oil paint handles.
It takes time to get used to oils so don’t judge it on your first painting. Give it time and make lots of quick little studies. Focus more on the process of working with the paint than the outcome.
Next ARTicle
In the next ARTicle we will review the book Alla Prima by Richard Schmid. And the next Gallery Bry YouTube video will discuss how to mix colors for a simple still life. Register for Academy Bry for FREE if you don’t want to miss them.
Academy Bry
Join Academy Bry for free to rapidly accelerate your painting skills with helpful ARTicles and videos delivered to your inbox.
Today let’s examine 3 ways a sketchbook can improve drawing and painting skills.
1. Judgment Free Zone
First, a sketchbook can be a place to experiment quickly without fear of judgment. It’s a place to try new ideas and explore your creativity. It can be traditional or digital. The choice is yours. I use both.
Just don’t fall into this trap: sometimes people get trapped into the belief that a sketchbook is a showcase book. In other words, they think each page has to be a finished, perfect work.
That’s okay if finished work is your intent. But it’s also helpful to have a book specifically to experiment and fail in a safe environment. Failing fast is a very efficient way to learn and a sketchbook can provide the environment.
“I have not failed. I’ve just found 10,000 ways that won’t work.” —Thomas Edison
Still have trouble letting down your guard in sketchbooks? Afraid to ruin a blank page or expensive materials? Try sketching on sticky notes or trash like old envelopes to warm up. If you don’t like it, just throw it away.
Pentel brush pen sketch on the back of an envelope
2. Daily Sketchbook Practice
Second, keeping a sketchbook can improve drawing by helping maintain a daily sketching practice. Sketching and painting every single day could be the single most important thing you can do to improve your skills. And by keeping your sketchbook with you at all times, it will help prompt you to make quick sketches of the world around you.
Keep your sketchbook in a place that you will always see it. For example maybe keep it next to your tea kettle if you make tea every morning. And try to carry it with you everywhere you go.
Moleskine makes a small sketchbook that fits easily in a pocket or backpack.
A Moleskine small pocket watercolor sketchbook is perfect for travel
3. Quick Reference
Finally, keeping a sketchbook can improve drawing and painting skills by helping you learn faster, if you keep notes about what you are learning. Make notes in the margins of things that you learned from your sketch. Keep notes on facial and figure proportions. Record color notes. Jot down notes about compositions you like.
A shadow diagram in a Moleskine watercolor sketchbook
Making notes will not only help you remember things better by processing it in a different manner, it will also make it easier to refer back if you want to confirm your thoughts later.
So let’s review and then try an exercise:
A sketchbook is a safe place to experiment and learn quickly from mistakes.
Keeping a sketch can help create a daily sketching practice.
A sketchbook is a great place to keep visual notes for quick reference.
Daily Sketching Exercise
Now that we know the benefits of a sketchbook, let’s put it to use with this exercise. Pick a location and time in your day that you know you will have about 7 minutes free to sketch.
Next, keep your sketchbook there and make it visible and easy to reach. Don’t keep it in a drawer. The goal is to eliminate as many steps as possible to make it easier to start sketching.
Then draw or paint what’s around you. It could be a teacup, a snack you’re eating, office supplies. The possibilities are endless.
The purpose isn’t to create a masterpiece or to learn something groundbreaking. It’s to establish good sketching habits. Once your habit is established it’s very hard to break. That’s why minimizing time is important so you can establish consistency. And once you establish that consistency, you can always add more time to your minimum sketching baseline when you have the opportunity.
The Next ARTicle
The next Youtube video will discuss how to paint a still life step by step in oils. And the next ARTicle will discuss choosing oil paints and the difference between student and artist grade paint. Sign up for Academy Bry if you don’t want to miss them.
Academy Bry
Join Academy Bry to accelerate your painting skills with helpful ARTicles and videos conveniently delivered to your inbox for FREE!!
For today’s ARTicle, we are going to discuss blending and three common ways to blend edges.
We will discuss some examples, look at some visual diagrams, and finish with an exercise.
Let’s get started.
In the last ARTicle, we discussed hard and soft edges and everything in between. Blending those edges is how to achieve such a multitude of edges. Let’s look at three examples.
There are three common ways to blend edges: by using a dry brush, using a between color or value, or a combination of both.
Using a dry brush is probably the most common and well known technique. Essentially all it entails is mixing one color and value shape into another. See the example below.
Blending oil paint with a dry brush
The benefit of this technique is that it’s quick and efficient and you don’t have to be a master at color mixing. Now let’s look at some shortcomings.
The down side is that it’s easy to over blend and lose beautiful brushwork, resulting in a potentially flat painting. The next technique helps avoid this problem.
Another option is to use a between color and value. In other words, brush in a color or value that is somewhere between the two color shapes you want to blend. See the example below.
Blending a light and dark value with a mid tone
With this technique you will achieve a much more painterly effect with beautiful brush strokes, rather than a painting that appears overworked and flat. But there is still one more option.
The final option is to use the best of both techniques. Why use just one tool when you can use multiple? You may find that using a mid tone to blend doesn’t always give you the effect you desire. In that situation you may find that blending with a dry brush, your finger, or any other tool can give you exactly the edge you desire. Now let’s finish with an exercise.
To master blending values, try painting an apple on a small panel. This will help you efficiently practice blending without being slowed down by drawing.
Do one a day until you feel confident in the progress you have made. Experiment with different lighting directions and temperatures to keep the exercise fresh.
An apple a day helps the inspiration stay
In the next article we will discuss how connecting light and dark values can make a strong composition and make starting a painting easier.
Enroll in Academy Bry if you don’t want to miss an article and have them sent directly to your inbox.
Find more helpful ARTicles by clicking one of the categories below.
Today we will discuss edges, how they are created, and how you can use them to attract the eye of the viewer.
First let’s define what an edge actually is. An edge is essentially a border between two contrasting elements.
The variations in the following components can create an edge: Color, Atmosphere, Light, Form, Shape, Texture, and Values.
You can remember this with the humerus mnemonic CALFS TV. Just imagine baby calfs on TV. (Yes calfs is a variant of calves. )
Edges fall on a continuum with one extreme being lost edges (aka soft edges) and the other extreme being found edges (aka hard edges).
Let’s look at an example of hard and soft edges created with color. The edge between blue and yellow will be much harder than an edge between blue and purple. See the example below.
Example of hard and soft edges using color alone
Now let’s look at an example of edges created with light. Shadows tend to have harder edges closer to an object and softer edges farther from an object. We can see this in the oil painting below of a red apple.
Shadow edges soften as they get farther from an object
Now that we know what edges are and have seen a few examples of creating them, let’s discuss how they can engage your viewers.
Hard edges naturally attract the human eye. Thus, sometimes it is helpful to use sharper edges in your focal point and softer edges as you move away from the focal point.
In the example below, I used harder edges in the fire hydrant to make it the center of interest. The edges in the background trees are far softer.
Example of lost and found edges
Let’s summarize. Edges are created with contrasting borders and can be hard, soft, and anywhere in between. Hard edges can be used to make your focal point stand out among a sea of softer edges, attracting the eye of the viewer.
Do you use hard edges in your center of interest? Feel free to comment or ask a question. I’m here to be your painting guide.