
Today we will further define color temperature and give some examples of how to use it in paintings.
Color temperature is nothing more than a way to group colors and describe how they relate and interact.
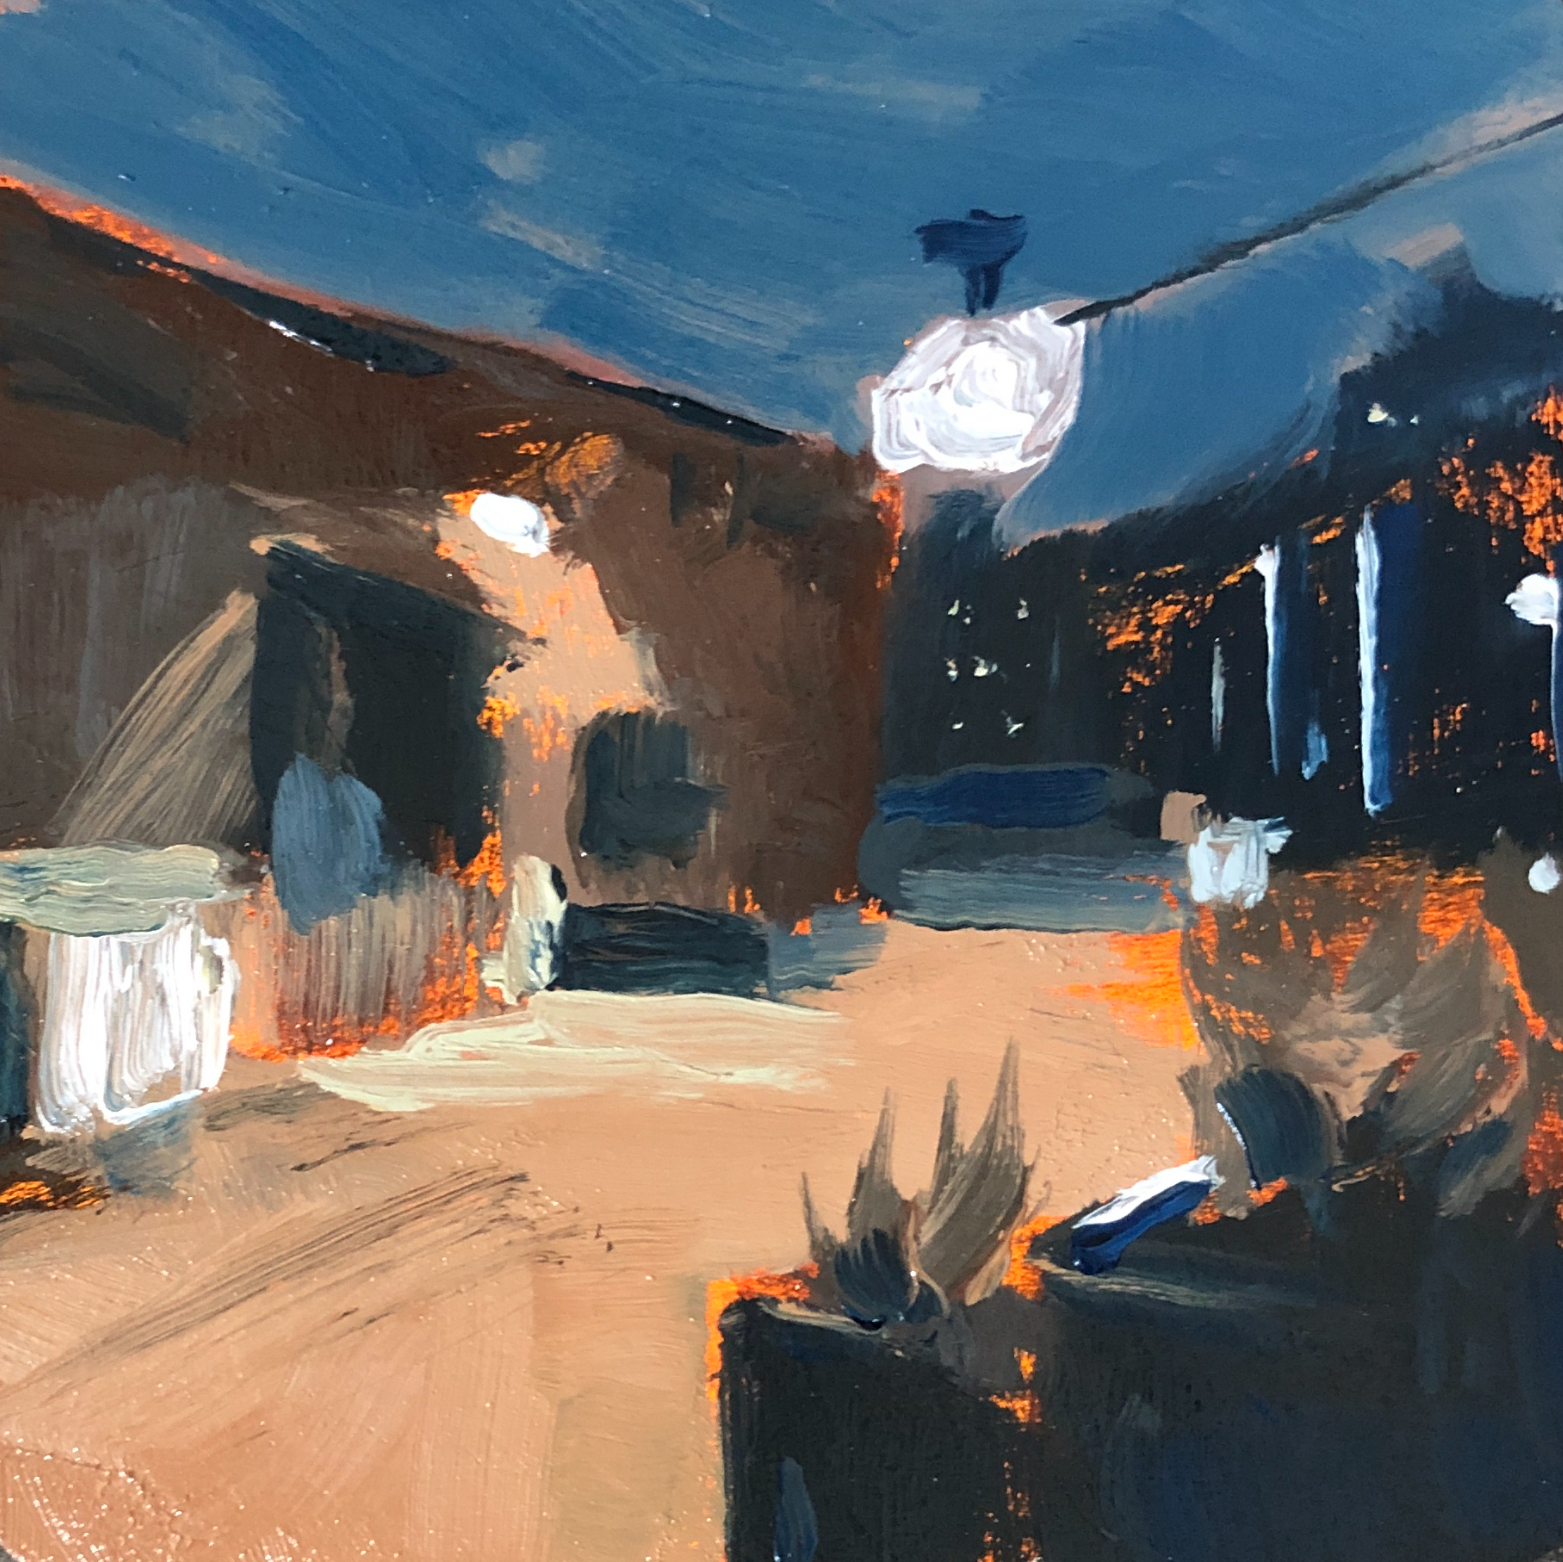
Color temperature falls into two categories—warm and cool. Cool colors are often closer to blue and purple. And warm colors are closer to red and yellow.

They were likely put into these categories because warm colors evoke feelings of fire and passion while cool colors evoke feelings of ice and tranquility.
But these color categories play a far bigger role than helping you decide what color to paint fire and ice.
Warm and cool colors can be used to turn form (see the previous article), create moods, and suggest space and distance.
Warm and cool colors can be used to make small turns in form while still keeping values close together. This helps simplify values and maintain a strong value structure.
Color temperature can also suggest moods. Want to paint a sunset or the feeling of golden hour? Use more yellows and warm colors in your highlights.

One of the most common ways to use color temperature is for atmospheric perspective in landscape painting.
You will often find cooler colors like blue and purple in the background and warmer colors like red and yellow in the foreground.

The main takeaway is that warm and cool colors give us a convenient way to describe color groups and can create specific effects in paintings.
It’s not a hard science and there are no rules to describe which colors fall into which categories.
It’s helpful to think of a color as being warmer or cooler in relation to a nearby color, rather than thinking of a color as inherently warm or cool.
How do you use color temperature in your paintings? Feel free to comment or ask a question. I’d love to help you on your painting journey.
Stop back tomorrow when we will discuss edges.
Until then, just keep painting.
Bry


