How to Create and Effectively Use Edges in a Painting

Today we will discuss edges, how they are created, and how you can use them to attract the eye of the viewer.

First let’s define what an edge actually is. An edge is essentially a border between two contrasting elements.

The variations in the following components can create an edge: Color, Atmosphere, Light, Form, Shape, Texture, and Values.

You can remember this with the humerus mnemonic CALFS TV. Just imagine baby calfs on TV. (Yes calfs is a variant of calves. )

Edges fall on a continuum with one extreme being lost edges (aka soft edges) and the other extreme being found edges (aka hard edges).

Let’s look at an example of hard and soft edges created with color. The edge between blue and yellow will be much harder than an edge between blue and purple. See the example below.

Example of hard and soft edges using blue and purple and yellow and blue
Example of hard and soft edges using color alone

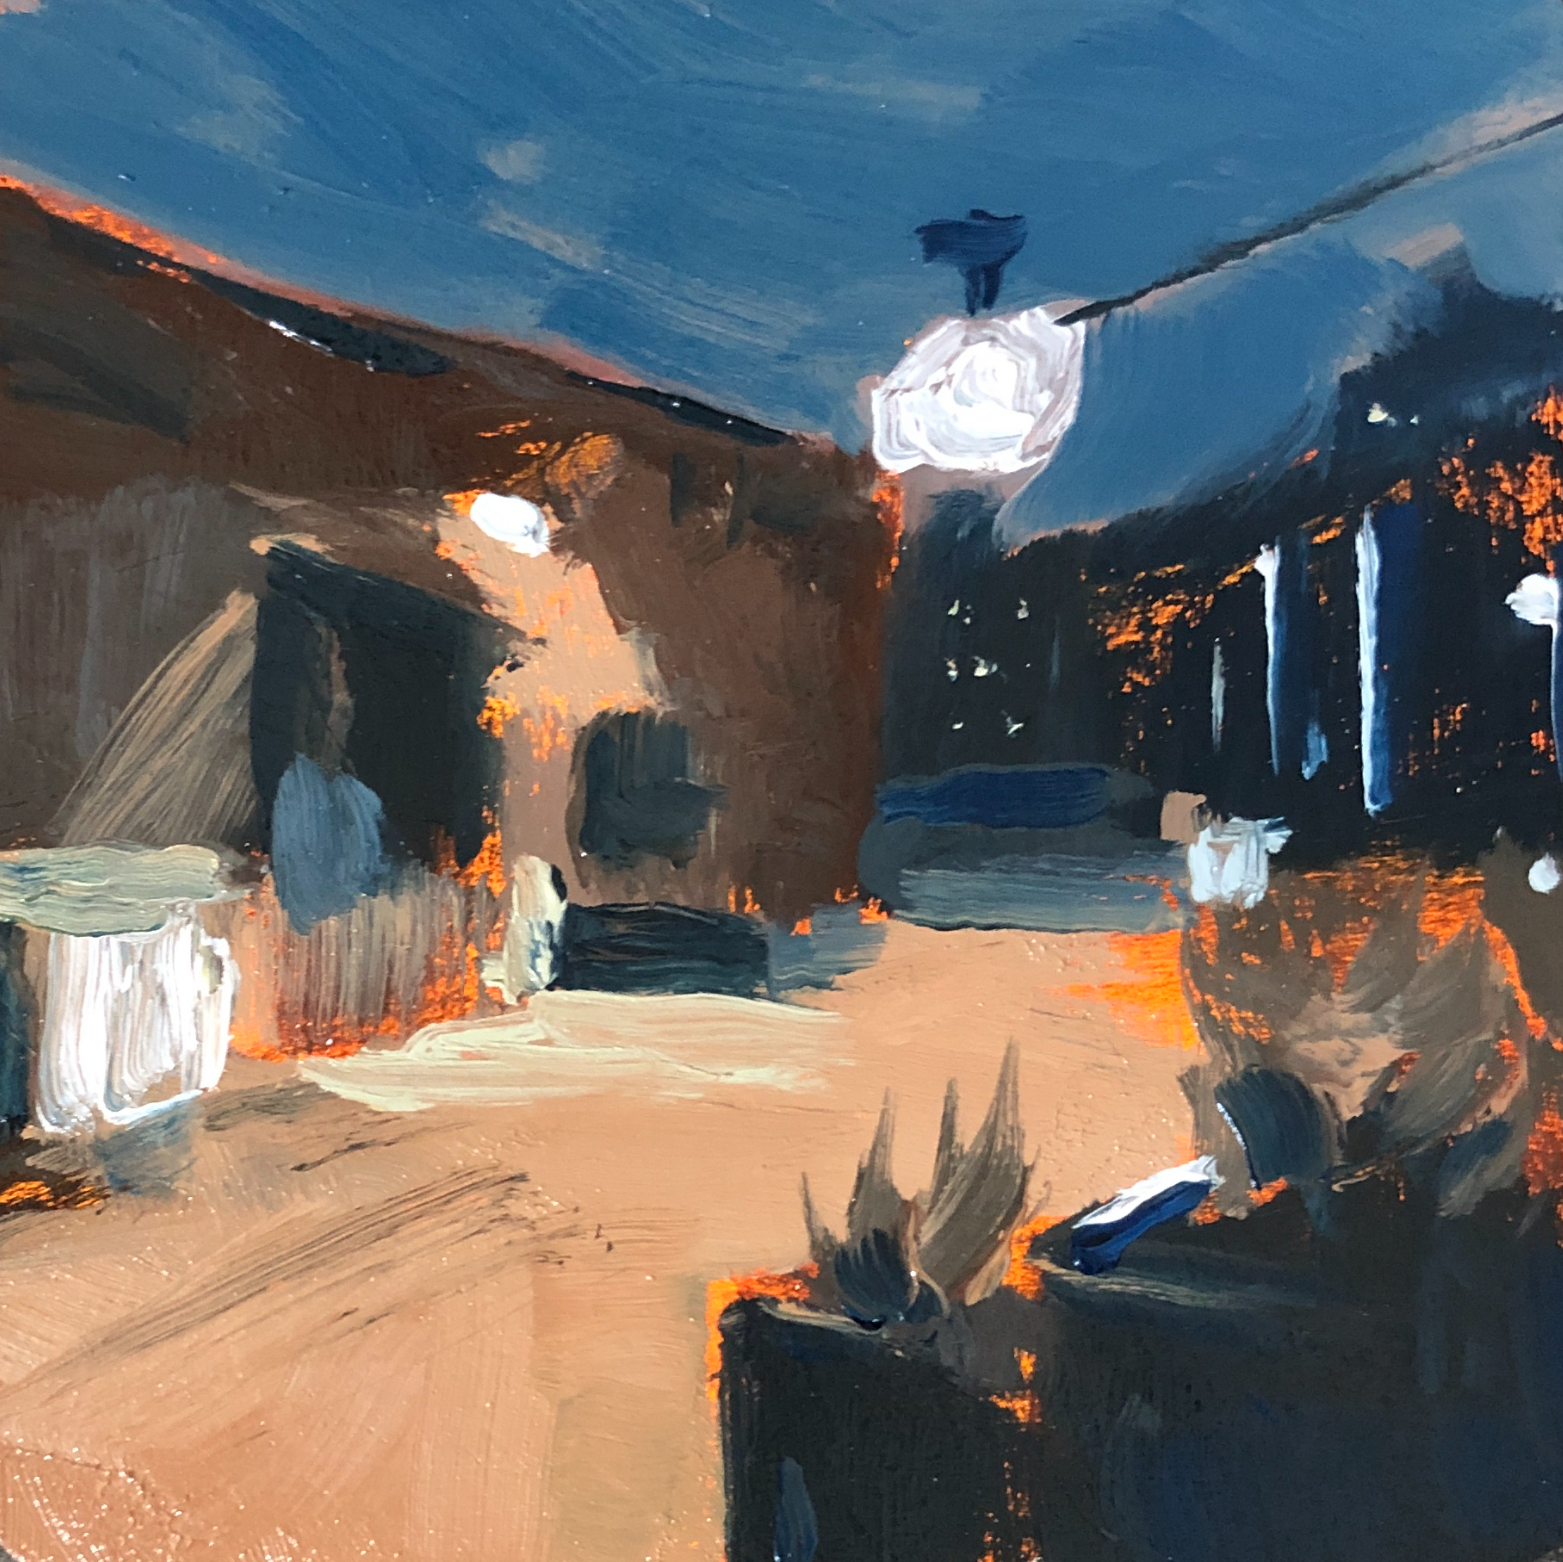
Now let’s look at an example of edges created with light. Shadows tend to have harder edges closer to an object and softer edges farther from an object. We can see this in the oil painting below of a red apple.

Oil painting of red apple and purple shadow with hard and soft edges
Shadow edges soften as they get farther from an object

Now that we know what edges are and have seen a few examples of creating them, let’s discuss how they can engage your viewers.

Hard edges naturally attract the human eye. Thus, sometimes it is helpful to use sharper edges in your focal point and softer edges as you move away from the focal point.

In the example below, I used harder edges in the fire hydrant to make it the center of interest. The edges in the background trees are far softer.

Red and yellow fire hydrant and green trees digital oil painting in procreate
Example of lost and found edges

Let’s summarize. Edges are created with contrasting borders and can be hard, soft, and anywhere in between. Hard edges can be used to make your focal point stand out among a sea of softer edges, attracting the eye of the viewer.

Do you use hard edges in your center of interest? Feel free to comment or ask a question. I’m here to be your painting guide.

Stop back tomorrow (and every day) for more tips.

Stay inspired

Bry

What is Color Temperature: How to use Warm and Cool Colors

Today we will further define color temperature and give some examples of how to use it in paintings.

Color temperature is nothing more than a way to group colors and describe how they relate and interact.

Color temperature falls into two categories—warm and cool. Cool colors are often closer to blue and purple. And warm colors are closer to red and yellow.

An example of how colors are commonly grouped into warm and cool colors

They were likely put into these categories because warm colors evoke feelings of fire and passion while cool colors evoke feelings of ice and tranquility.

But these color categories play a far bigger role than helping you decide what color to paint fire and ice.

Warm and cool colors can be used to turn form (see the previous article), create moods, and suggest space and distance.

Warm and cool colors can be used to make small turns in form while still keeping values close together. This helps simplify values and maintain a strong value structure.

Color temperature can also suggest moods. Want to paint a sunset or the feeling of golden hour? Use more yellows and warm colors in your highlights.

Landscape oil painting of a desert sunset and cactus
Example of one of Bryan’s landscapes that exemplify how warm highlights create the feeling of golden hour

One of the most common ways to use color temperature is for atmospheric perspective in landscape painting.

You will often find cooler colors like blue and purple in the background and warmer colors like red and yellow in the foreground.

Landscape oil painting of blue mountains green trees and green grass
Example of a landscape oil painting by Bryan, demonstrating atmospheric perspective

The main takeaway is that warm and cool colors give us a convenient way to describe color groups and can create specific effects in paintings.

It’s not a hard science and there are no rules to describe which colors fall into which categories.

It’s helpful to think of a color as being warmer or cooler in relation to a nearby color, rather than thinking of a color as inherently warm or cool.

How do you use color temperature in your paintings? Feel free to comment or ask a question. I’d love to help you on your painting journey.

Stop back tomorrow when we will discuss edges.

Until then, just keep painting.

Bry

How to Oil Paint on a Budget: 3 Tips to Save Money on Oil Paint, Brushes, and Panels

Today let’s discuss how to start (or maintain) oil painting for as little money as possible, without sacrificing quality.

One of the main things you need is paint. But you don’t need every color in the rainbow to start. In fact, you’ll learn quicker if you start with just one pigment, say, burnt umber, for example.

It may not be as exciting, but if your goal is to learn to control oil paint, one pigment is all you need. (See the previous article on monochrome painting.)

And you can get a 37ml tube of premium M Graham burnt umber for under $10. Not bad. Premium oil paint is usually softer and easier to manipulate so you don’t need mediums while painting. So there is more money saved right there.

Now you need a firm brush to push that oil paint around. You can get a high quality Princeton Dakota number 8 for about $10. Sound like a lot for a brush? If you treat it well, it can easily last years.

Here is a video on how I clean my brushes to make them last forever. https://youtu.be/2gMDf1Bwo9o

It’s helpful to have multiple brushes but you can definitely get by with just one. I like angled bright brushes because you can get broad strokes, sharp lines, and fine points. All that from one brush, and more money saved.

For a support to paint on, I like hardboard panels, formally known as masonite. They are great for learning and even finished paintings if properly sealed and primed.

You can get a 4×8’ panel at Home Depot cut into 96 6×8” panels, a perfect size for quick studies. At around $14 for the full sheet, that comes to about 15 cents per panel, compared to $2.50 at an art store.

If you bought those 96 panels in an art store it would be $250. That’s quite the discount.

If you are learning to paint in monochrome, there is virtually no reason to clean your brush while painting. So no solvents need. Just wipe it with a rag or paper towel. More money saved.

Now you could wash your brushes with soap and water after you finish painting, but if you paint regularly, you could just dip them in Gamblin safflower oil.

You can get a bottle for around $25, but that bottle could easily last you a year if you are just using it for dipping brushes. It’s well worth it because it will save you from washing brushes all the time.

Finally you need something to prime your panels. You could get some Golden acrylic gesso for about $15 or student grade gesso for even less. It will do just fine if you are learning and experimenting. But here is a little tip if you want to use some of that money you just saved.

Consider trying Michael Harding nonabsorbent acrylic primer. If you are painting in monochrome with a reductive technique, it will enable you to wipe off paint much more easily than gesso.

It’s a little pricey at $28 for the small jar but a little goes a long way. Not a money saver but it makes painting more enjoyable.

Gamblin oil ground is even better but you’ll also need a sizing like GAC 100 from Golden, and that is more money to spend, and defeats the purpose of this article.

Just about the only other thing you would need is a mixing palette. I prefer wooden palettes but for the sake of saving money you could just use aluminum foil. You probably already have that, so that’s free.

So there you have it: An absolute bare bones way to start oil painting or maintain it if you you are short on cash. It may not be very exciting, but it will get the job done.

What tips do you have for saving money on supplies. Let me know in the comments. I’d love to hear from you.

Stop back tomorrow, and everyday, for more painting tips.

Stay inspired,

Bry

Monochrome Oil Paintings: Helping You Learn to Oil Paint Faster

Today we will discuss Monochrome oil painting and how it can help you learn to oil paint faster.

Monochrome paintings have a long history. They’ve been used for the foundation of transparent glazing and for underpaintings of opaque oil paintings.

But they can also stand alone as finished works of art.

Most monochrome paintings are created with just one pigment plus white. But you can also use a reductive approach and leave out the white.

For the reductive approach you will need to use an oil primer or non absorbent acrylic primer, like that from Michael Harding. Gesso is too absorbent to wipe back to the original white.

Now let’s discuss how monochrome painting can accelerate your oil painting skills, because that’s why you’re probably here.

First, monochrome paintings can help your opaque color paintings be more successful. By working out the composition, drawing, and values in one pigment, it enables you to paint with more confidence when you add color.

Second, monochrome painting can help you master brushwork and manipulating paint because you don’t have to worry about mixing color. This can help you get the feel for how oil paint handles much more quickly.

In fact, most traditional painting schools have students start with graphite and charcoal first and when they finally graduate to using paint, it is usually monochrome painting.

By focusing on just one pigment, you can master values and putting paint exactly where you want it, without having to struggle with color mixing as well.

As an added bonus, it can save you tons of money. Many people cite expense as a barrier to learning oil painting. By using one pigment, say, burnt umber, you can learn oil painting for a fraction of what a full palette would cost.

You can get a 37ml tube of M Graham burnt umber for under $10.

Stay tuned for the next article on painting on a budget.

What pigment do you like for monochrome paintings?

Let me know in the comments. I’d love to hear from you and help you on your painting journey.

Stop back tomorrow, and everyday, for more tips.

Stay inspired,

Bry

How to Simplify an Oil Painting and Get Better Results

Do you ever feel overwhelmed when you start a painting? For today’s tip we will discuss how to make a painting less complex so you can be more successful.

When starting a painting, you have to get the drawing accurate, then mix the right color and value, then apply the right brushwork. It’s a lot. So why not just focus on a few principles instead? Some of the most famous painters did just that. (More on that later.)

It’s very hard to get every element right in a painting. So try to pick just one or two areas if you feel overwhelmed.

For example, you can make a monochrome painting that mostly focuses on drawing and values. Plenty of master painters make these types of paintings. It will help you learn drawing with paint without getting too bogged down in colors.

Once you get comfortable with that, then maybe try a painting with a limited palette. You’ll still have to mix colors, but you can focus more on values. The limited palette will keep you from trying to match every color in the rainbow.

Plenty of masters painted this way. Zorn often used a palette of just cad red, yellow ochre, and ivory black. That’s it. His colors probably weren’t fully accurate to those seen in life, but he mastered the values in his portraits.

Maybe you’re not big on drawing or photo realism. Then maybe color should be your focus. Don’t stress over mastering the drawing. Work on color schemes and tricks like optical mixing. Monet was a master of this. There are few crisp lines in his work. Often his goal was experimenting with color, not necessarily drawing.

This isn’t to say never work on drawing or banish all colors, especially if you want to improve. Just don’t overwhelm yourself.

Don’t try to master your symphony all in one take. Work on the various components and then work on blending them together.

What topics would you like to hear discussed here? I’d love to hear from you and help you on your painting journey.

Stop back tomorrow, and everyday, for more painting tips.

Cheers! —Bry